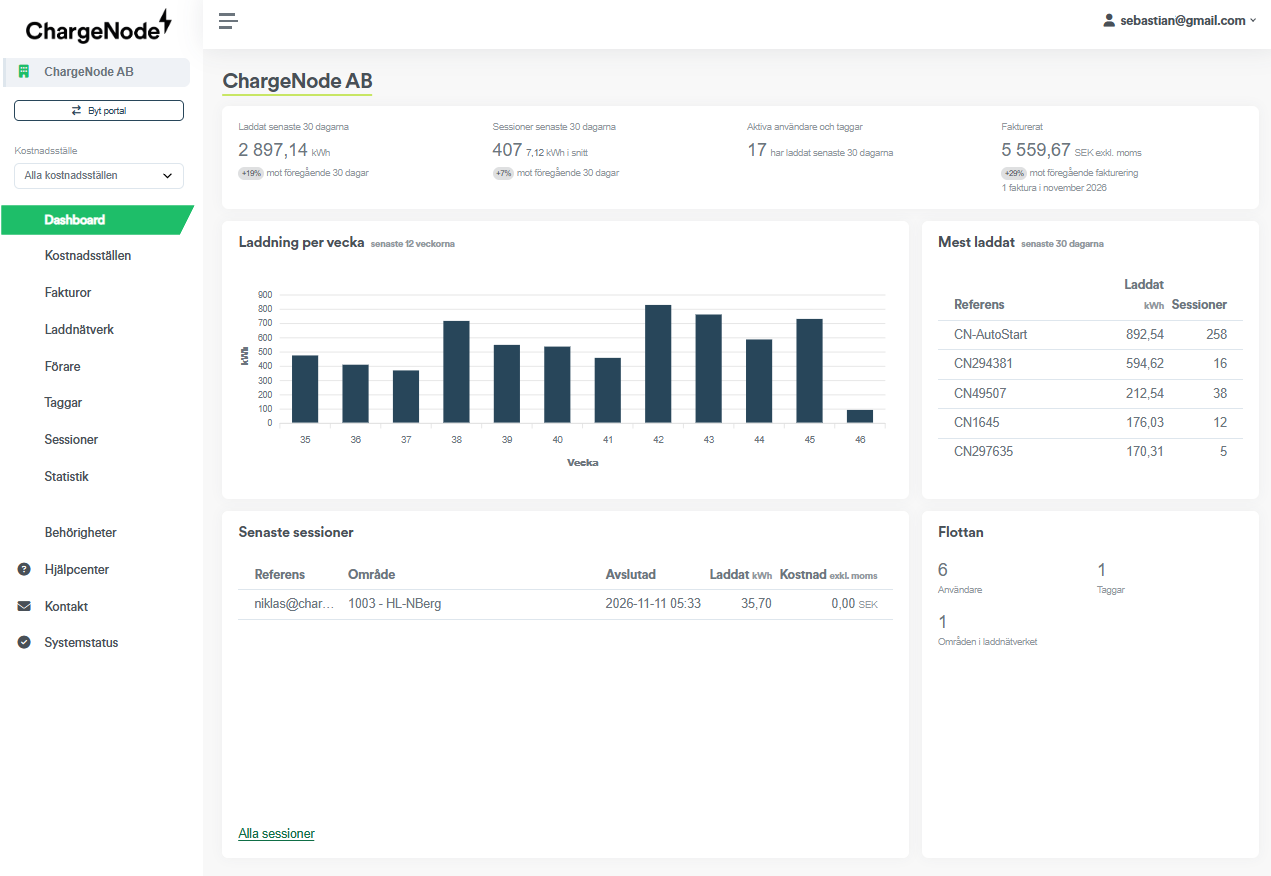
Dashboard
This is the start page for the Fleet account. Here you will find overall statistics on vehicles, users and charging.
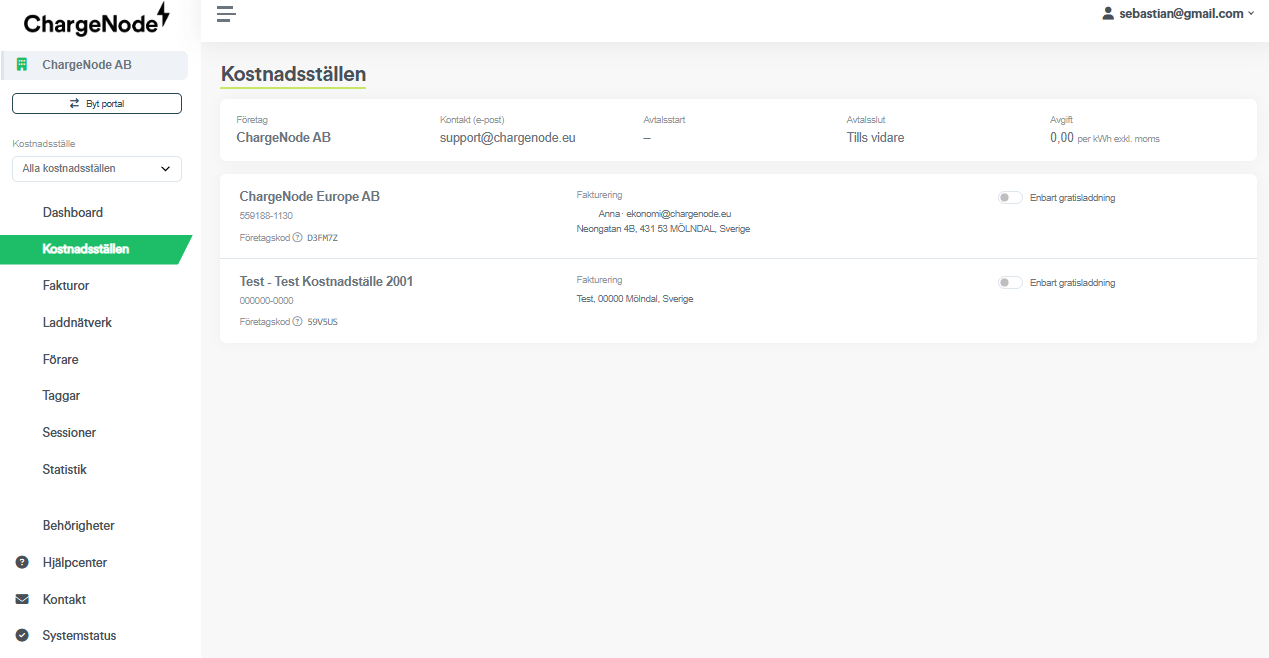
Cost centers and Company code
If your Fleet account consists of several cost centers, you will see them here and can change whether they may only charge at sites with free charging, such as your own sites or sites where you have an agreement with another site owner.
Here you will also find the "Company code". This code is your identification code for the cost center. If, for example, one of your cost centers is to have a discount or an authorization at another site owner, this is the code you give them so that you receive the correct discount / authorization.
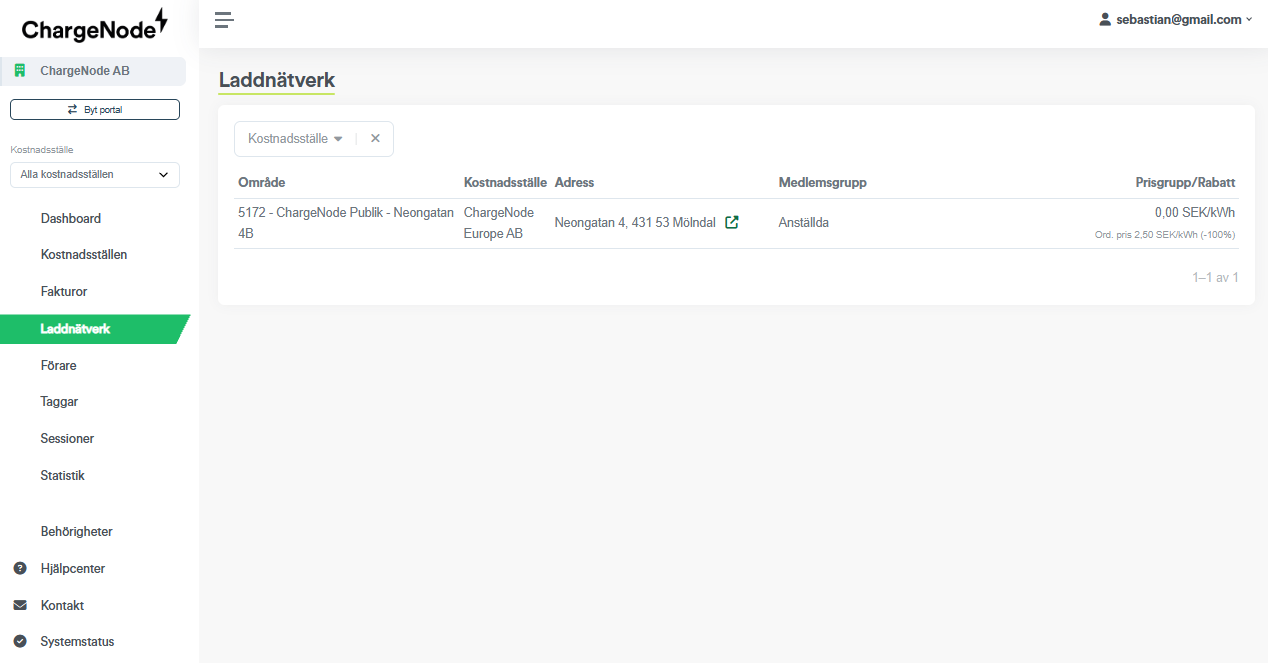
Charging networks
Here you see an overview of the member groups that the cost center is a member of. These are the discount groups that are linked to sites. Here you see member groups that both internal and external site owners have granted access to.
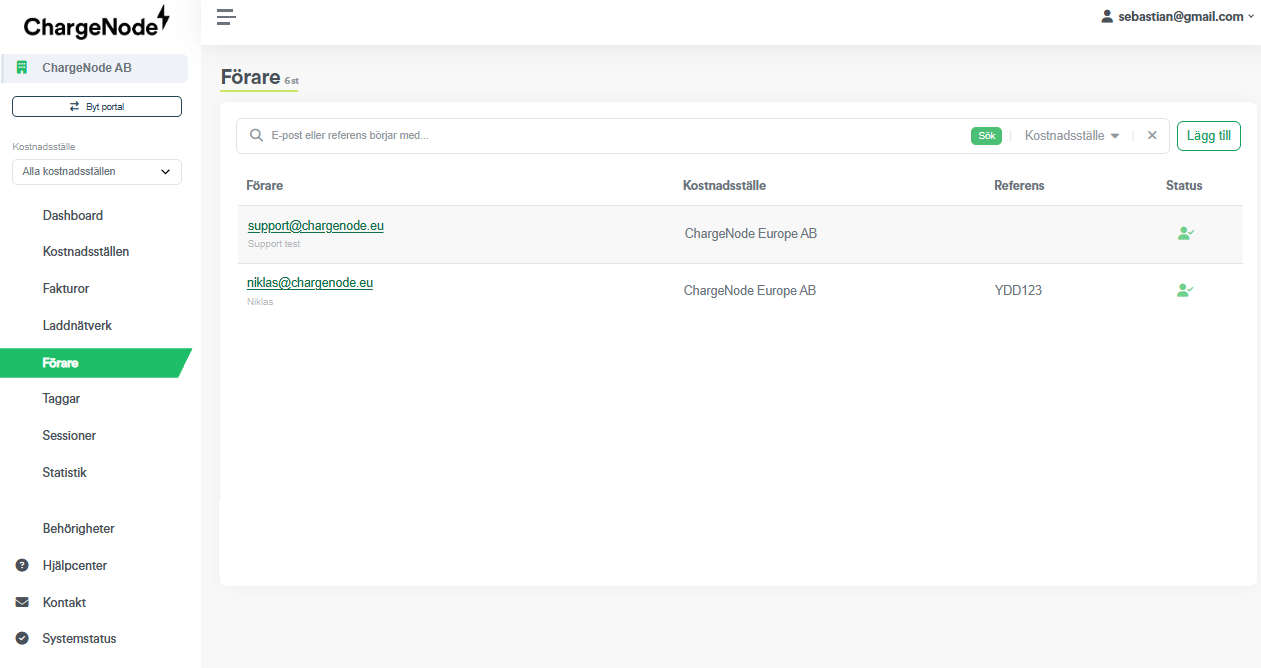
Drivers
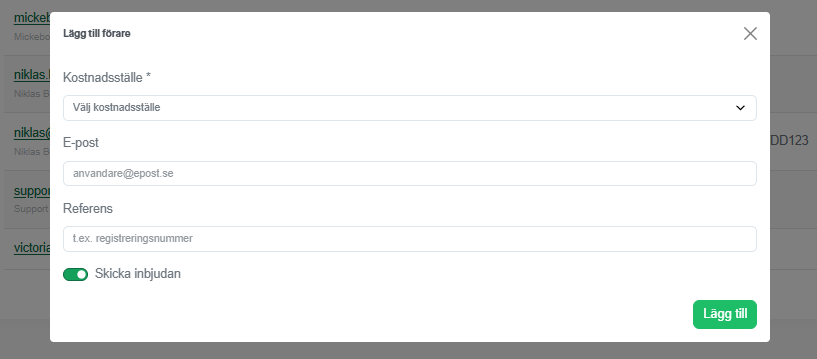
Here you add the drivers who can charge on behalf of the Fleet account. You add them by entering their email address and an optional reference. The reference will be specified on the invoice and in the charging history.
If they do not already have a ChargeNode account created with that email address, they will receive an email with information on how to install the ChargeNode app and log in to it.
The driver now has access to the Fleet account as a payment method in their app. The driver can thus choose whether to charge privately and pay with their own payment method, or to let the cost go to the cost center under which they are registered in the Fleet account.
When the driver charges with the Fleet account in the app, they will also be asked to select the vehicle they are charging. This only applies if you have added or synchronized your company's vehicles in the portal. See the separate section on vehicles below.
It is important here to check with the driver whether they already have a ChargeNode account. It may be that the email address you have for the driver is not the one the driver used to create their ChargeNode account.
Tags / RFID tags
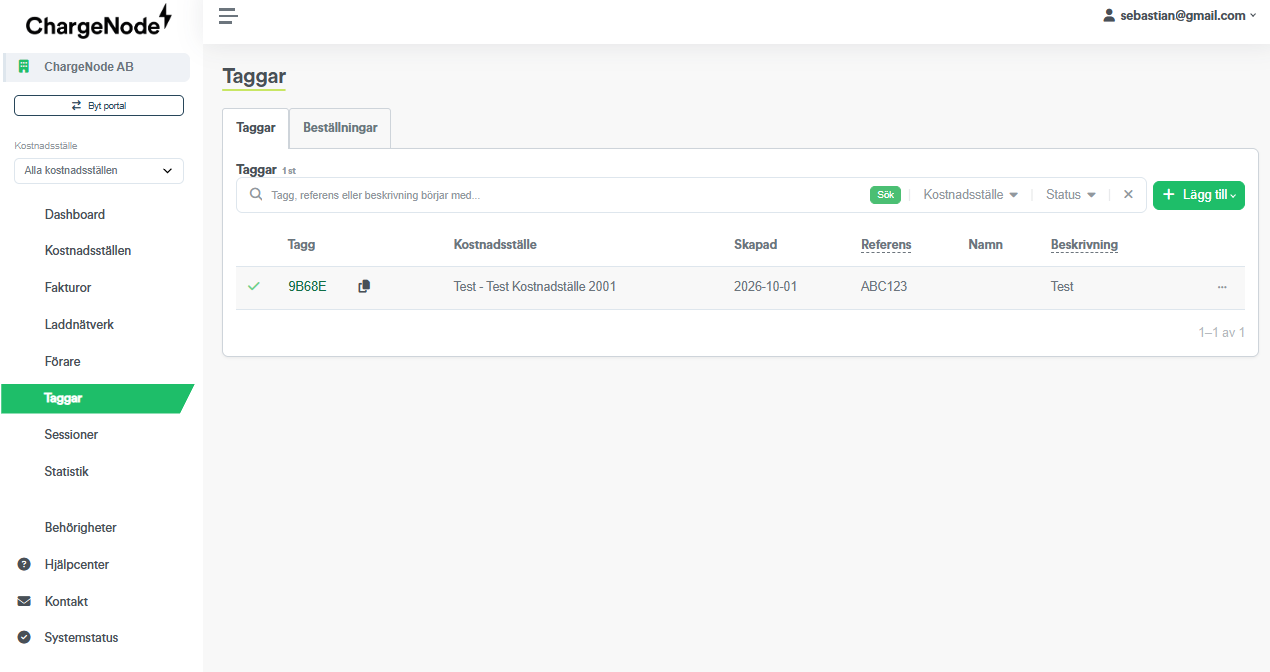
Here you see all existing RFID tags that are linked to the Fleet account. These are not personal but can have a reference, a name and a description
For example Reference: ABC123 Name: Service car 1 Description: The service car in the garage on Neongatan.
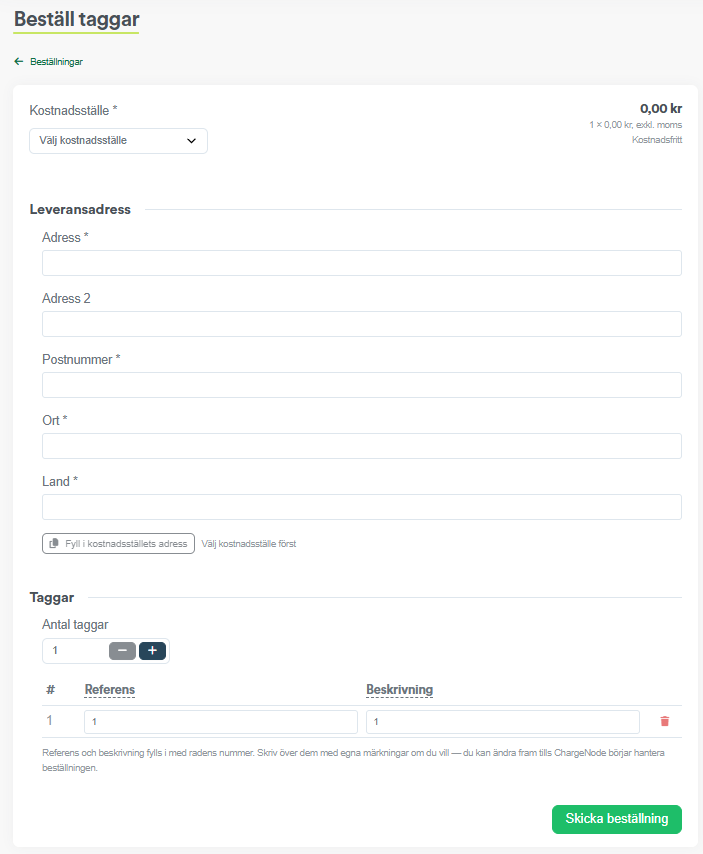
Via the "Orders" tab you order new RFID tags. We create them at ChargeNode and send them to you by post.
Vehicles
If you own several vehicles and want authorizations and follow-up for them, you add them here.
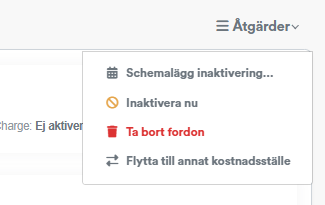
You can also use the vehicle registry to add the vehicles that are registered to the company. Here you can also set the vehicle to be deregistered automatically if the vehicle leaves the company or is deregistered.
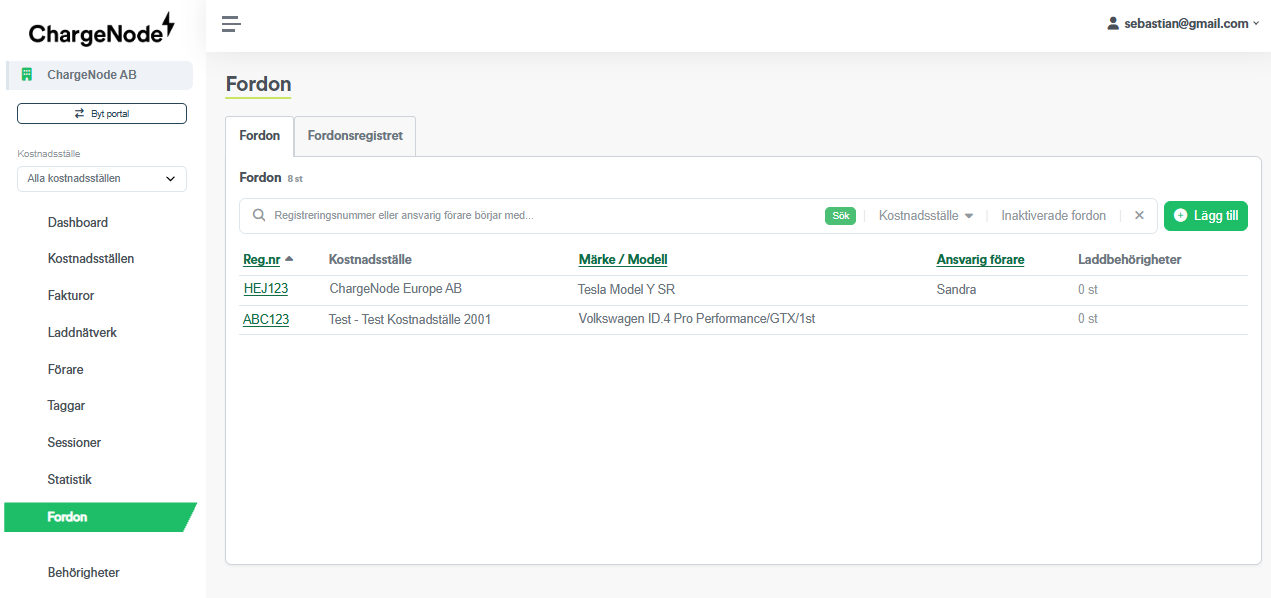
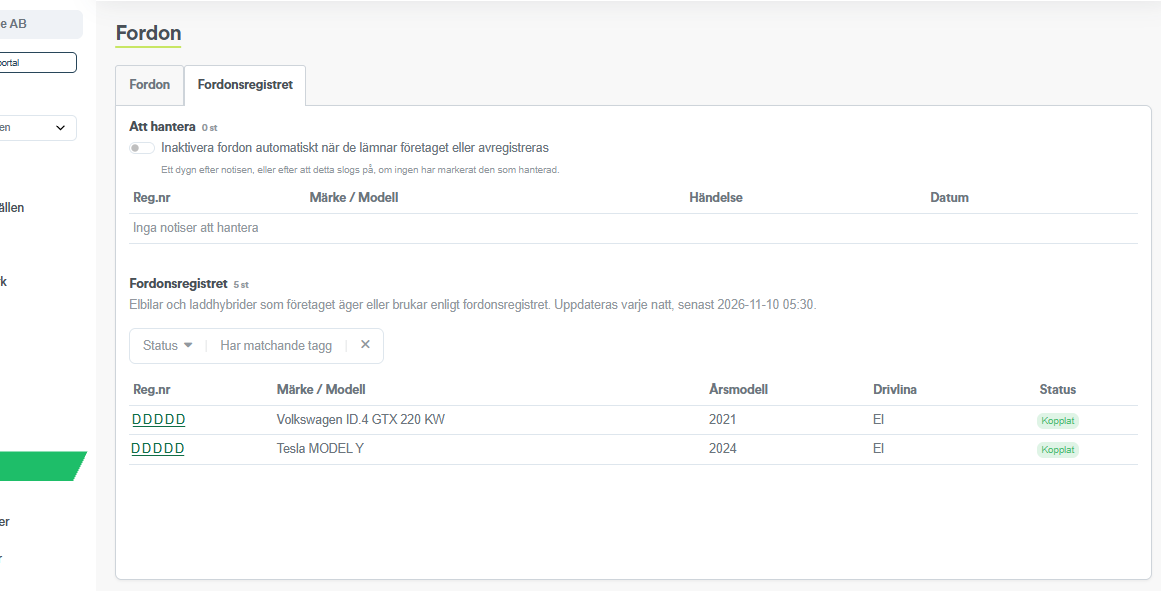
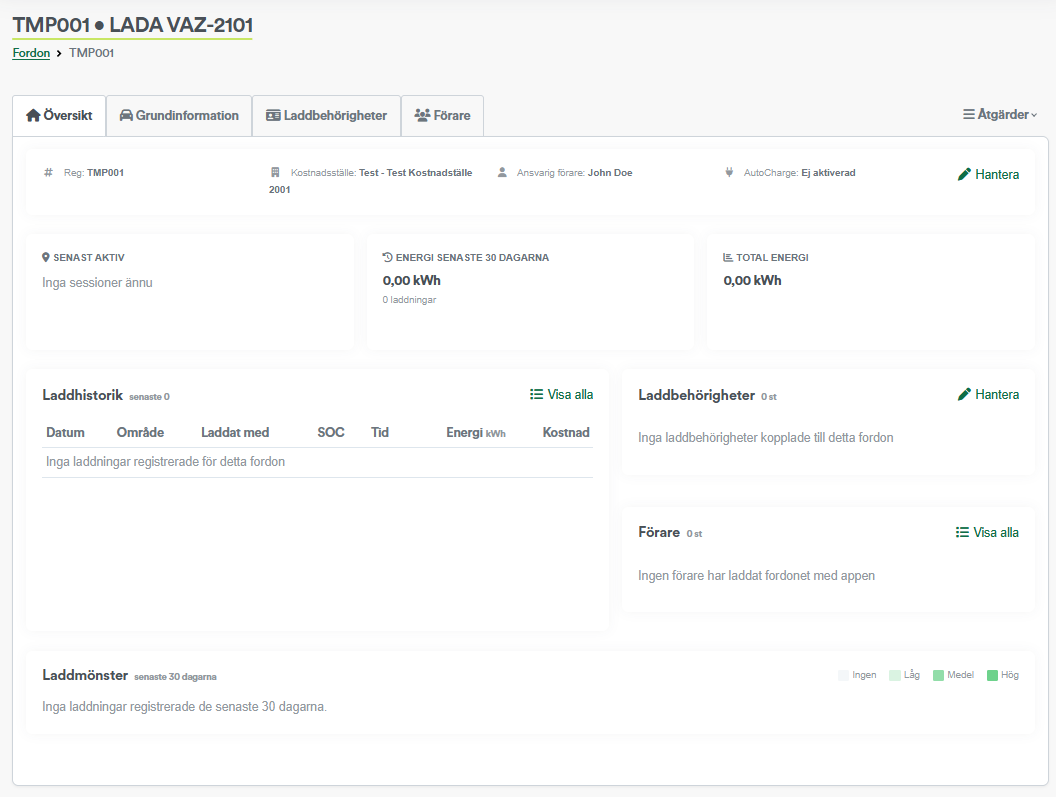
Vehicle Overview
If you click on the registration number of a vehicle in the vehicle list, you will come to this overview. Here you see relevant information, settings and consumption data for the vehicle.
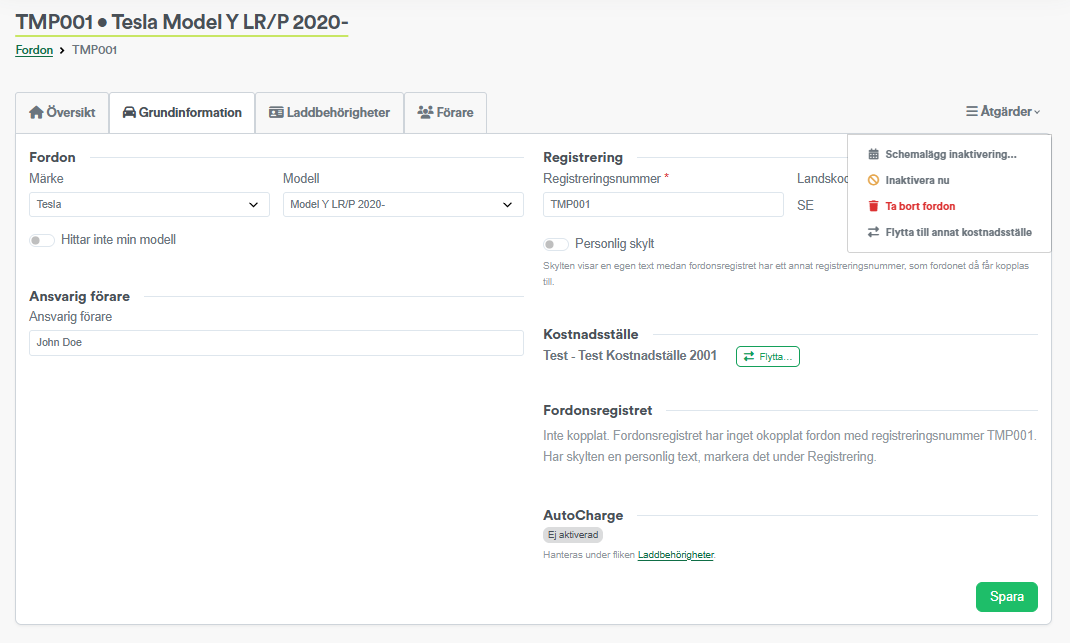
Vehicle - Basic information
Here you can edit information about the vehicle.
Vehicle - Charging authorization
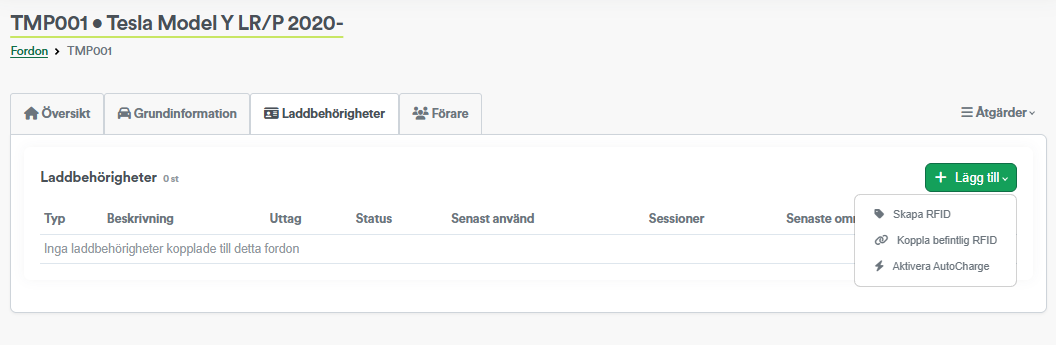
Here you link new or existing RFID tags to the vehicle. All charging that takes place with that RFID tag will be registered as a charge with the vehicle it has been linked to.
If you create a new RFID tag, you will need to enter the RFID tag's hexadecimal code and an optional description.
If you link existing RFID tags, the selection is made from the tags you have added under Tags in the left column of the Fleet portal. These tags are not linked to any vehicle but can still be used for charging. If you need to order new tags from ChargeNode, you do this under Tags>Orders.
Deactivated vehicles retain linked RFID tags
Deactivated vehicles retain the RFID tags that were linked to them. Go to the "Charging authorizations" tab and "Unlink" the RFID tag from the vehicle. The tag is now free to be linked to another vehicle or to charge directly under the Fleet account.
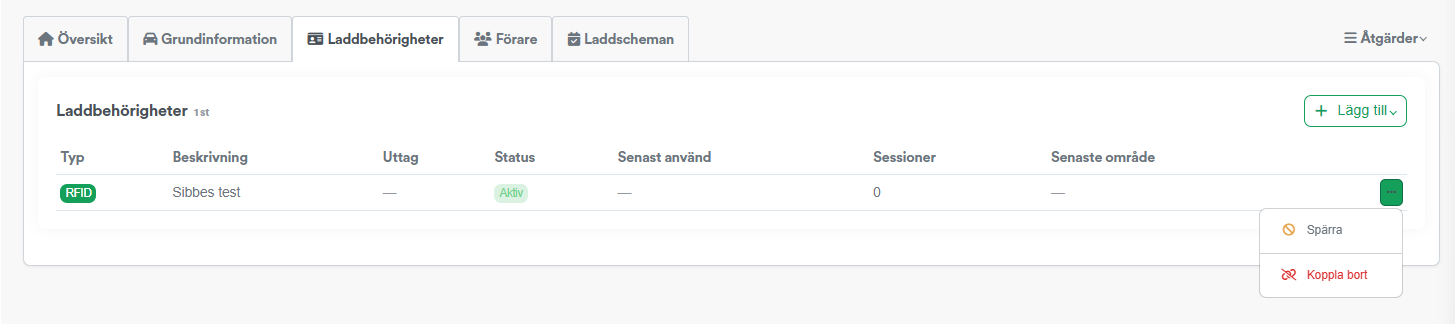
You can also activate "Autocharge" for the vehicle. Then enter the car's unique MAC address. The car will now automatically start charging when plugged in at a charging station.
Autocharge does not work on all models of charging stations. In that case, charge with RFID or the ChargeNode app
A selection of brands with models that support Autocharge is: AmpSociety, Alpitronic, C-Tek, Kempower, Volvo
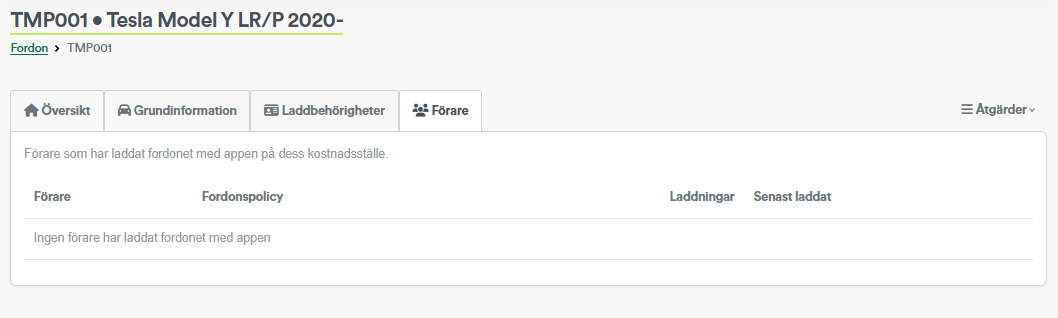
Vehicle - Drivers
Here you can see whether a driver has charged the vehicle via their ChargeNode app.